SOLIDWORKS administrative image: create, configure and deploy to every workstation
Published on October 7, 2026 — the method I apply in design offices so that fifteen workstations run exactly the same SOLIDWORKS: preparation, creation, image settings, licensing, deployment and updates.
1. What an administrative image really is
When you install SOLIDWORKS "the normal way" on a workstation, the installer downloads or reads several tens of GB, then lays down the components while asking a series of questions: products, folder, serial number, options. Repeat that on fifteen workstations and you get fifteen slightly different installations — and two lost days.
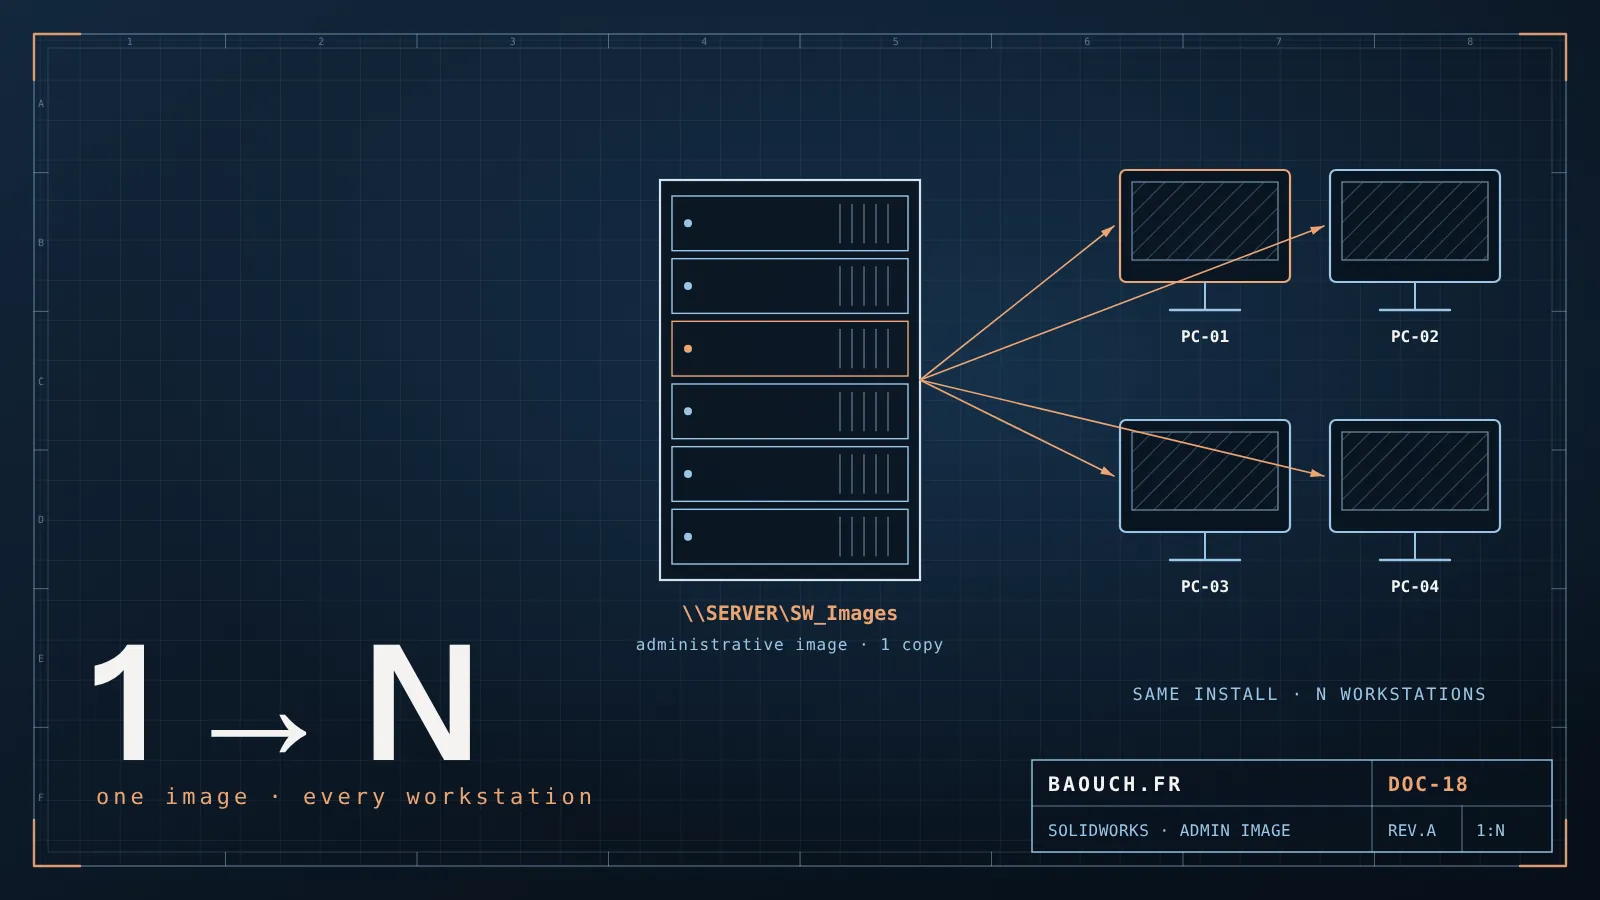
An administrative image reverses the logic: the administrator answers the questions once, and the result is stored on a network share together with every required file. Each workstation then only has to start the installation from that share, and ends up with exactly the same configuration as the others.
The real benefit is not the time saved at install. It is the disappearance of an entire category of failures: "it works for me, not for him". When every workstation comes from the same image, a problem reproducible on one machine is reproducible on all — and gets fixed once.
2. Preparing the ground before touching the Installation Manager
Half of the administrative images that fail, fail because of what surrounds the image, not the image itself. Five points to settle before starting the creation:
- A dedicated network share, as a UNC path (\\server\SW_Images), never a mapped network drive: a workstation installing through a startup script does not see a user's mapped drives.
- Controlled rights: write access for administrators only, read access for computer accounts (or the "Domain Computers" group) and for the users who install. It is the number-one oversight in GPO deployments.
- Space: several tens of GB per version, and twice that if you keep the previous version during the transition. A dedicated 100 GB volume is a good order of magnitude.
- Serial numbers and license type at hand: standalone (one number per workstation) or network (an SNL server). This choice drives what follows — see section 5.
- A clean test machine, preferably a virtual machine, to validate the image before exposing it to the fleet. Snapshot, trial, roll-back: an hour that saves a day.
Also name the image with its version (SW2025_SP3, for example) and keep a small text file at the root: creation date, Service Pack number, who built it, what was configured. In two years, that file will be worth gold.
The target workstations' hardware matters as much as the image: see the SOLIDWORKS hardware configuration guide to check that a workstation is ready for the target version.
3. Creating the image step by step
The entry point is the same as for a classic installation: the SOLIDWORKS installer, downloaded from your customer portal or read from media. Exact labels change slightly from one version to the next, but the sequence stays the same.
- Start the installer with an administrator account and choose the "Administrative image" installation type (create an image for deployment to several computers), not "Individual installation".
- Choose the creation mode: "create a new image using default settings", or "create a new image using settings and files from an existing image" — useful with each new version to carry your settings over.
- Enter the serial numbers. They determine the products offered next. With a network license you will not need to hand them to workstations: only the server address will be embedded.
- Specify the image location: a folder specific to the version. The default location offered is C:\SOLIDWORKS Admin; it is recommended to build the image on a local disk (faster and more stable), then copy the finished folder to the UNC share prepared in step 2.
- Tick the products to include: SOLIDWORKS, Simulation, Visualize, Electrical, PDM, Toolbox… Only embed what you will really deploy: every product makes the image heavier and every installation longer.
- Start the download. The tool pulls every file into the share: it is the long step, so start it at the end of the day.
Please note: screen names, available options and exact prerequisites depend on your version and your contract. For anything that commits the deployment, the official installation guide of the target version is authoritative: this article gives the method and the traps, not reference documentation.
4. Configuring the image: the options editor
Creating the image is not enough. Its value comes from what you preset inside it: that is where fifteen installations become one. Settings are made in the administrative image options editor, which you open with the "Customize Image" button of the Installation Manager, or by running sldAdminOptionEditor.exe from the image root folder. "Global" settings apply to every workstation unless overridden for a specific group or machine. These are the families of settings that matter, in order of impact.
The settings file: the most profitable move
Set one reference workstation to the design office standards (units, document options, locations, colours, shortcuts), then export its settings with the Copy Settings Wizard into a .sldreg file. Imported into the image, it applies to every new installation. It is what ends the famous "your SOLIDWORKS isn't set up like mine".
Same logic for the Toolbox: a single library, at a shared location, written by one person. It is exactly the durable fix described in the article on the 10 most common SOLIDWORKS errors — the administrative image is where you set it once and for all.
5. Licensing: standalone or network (SNL)
The image does not invent your license model, it materialises it. Two cases:
- Standalone licenses: one serial number per workstation. Convenient for a small fleet or mobile workstations; painful once the fleet grows, because every installation or reactivation goes through a number.
- Network licenses (SolidNetWork License, SNL): a license manager installed once on a server, and workstations that "borrow" a license on launch. The server address is embedded in the image as port@server, and the workstation asks the user nothing.
A few watch points on the SNL server: a stable machine (not a technician's laptop), a fixed name or address, open firewall ports (the manager's default port is 25734, with a second port for the license daemon) and a backup of the license file. A license server down means the whole design office at a standstill.
6. Deploying to the workstations
Three ways to install from the image, from the simplest to the most industrial:
A. By hand, from the share
You open the share on the workstation (with a local administrator account) and launch the image's installer. No question remains open: everything is preset. Enough for around ten workstations, and ideal for validating the image on the test machine.
B. By command line
From the image, installation can be launched from the command line, silently, using the image's installer and, for the core product, msiexec with reduced-UI switches. The exact syntax (properties, restart options, optional products) changes from one version to the next: copy it from the "Installing from the Administrative Image Using the Command Line" page of the SOLIDWORKS installation guide for your version, rather than from an article — this one included.
Behaviour options are set in the image's options editor. That is what lets you run the same command from a script, an administration workstation or a monitoring tool.
C. By group policy or deployment tool
For a fleet of several dozen workstations, you put this command in a computer startup script (GPO) or in a tool such as SCCM / Intune. The script then runs under the computer account — hence the importance, seen in section 2, of the UNC path and of read rights granted to computer accounts.
Stagger the installations. Fifty workstations reading 25 GB at the same time from one share saturate the network and the server: everyone waits, some installations fail on timeout. Deploy in waves (ten workstations at a time) or, across several sites, replicate the image to a local share at each site.
If you also deploy the PDM client, apply the same discipline: client version aligned with the server's, and automatic vault attachment through a setup file. It is a full chapter of the complete SOLIDWORKS PDM guide.
7. Service Packs and new versions: keeping the image current
An administrative image is a living asset. Two situations, two rules:
- A new Service Pack (SP): you update the existing image from the Installation Manager, validate it on the test machine, then propagate it to workstations. You do not create a new image for each SP.
- A new major version: you create a new image, in a separate folder, and keep the old one as long as ongoing projects depend on it. SOLIDWORKS does not reopen backward a file saved in a newer version: the version move is a design-office decision, not just an IT one.
In both cases, validate before generalising: a pilot group of two or three users, for one to two weeks, on real assemblies. If you use a PDM vault, also check the target version's compatibility with your PDM server before touching the fleet — the subject covered in migrating data to SOLIDWORKS PDM.
8. The classic traps
One last reflex: when an installation fails, read the log before retrying. Retrying blindly hides the cause, and the same failure will hit the next workstation. A failure reproducible on the test machine gets fixed in the image, once.
9. The pre-launch checklist
- Dedicated UNC share, write rights limited to administrators, read for computer accounts and the users concerned.
- Folder named with the version and SP, tracking text file at the root.
- Only the products actually deployed are included in the image.
- License decided: serial numbers or SNL server (address embedded, ports open, backup).
- .sldreg file from the reference workstation imported into the image.
- File locations and shared Toolbox declared in the options editor.
- Image validated on a clean test machine, then on a pilot group.
- Wave deployment plan, with a roll-back foreseen.
A well-built administrative image is invisible: nobody talks about it, because nobody has an "odd one out" workstation any more. The day someone says "your SOLIDWORKS doesn't behave like mine", the image has not finished its job.Mohamed Omar Baouch
10. FAQ
What is a SOLIDWORKS administrative image?
It is a complete copy of the installer, placed on a network share and preconfigured by the administrator (products, license, locations, settings). Each workstation then installs from that share, without re-downloading the files and without the user having any choices to make.
How much space should I plan for the image?
Several tens of GB for a full version. Plan generously: one image per major version, plus the Service Packs downloaded on top. A dedicated 100 GB volume for SOLIDWORKS images avoids asking the question again with every version.
Can I install from the image without administrator rights?
No: installation requires local administrator rights on the workstation. The image does not bypass them, it standardises the installation. For a fleet, you therefore use a startup script, a deployment tool (SCCM, Intune) or a support intervention.
Do I need one administrative image per SOLIDWORKS version?
Yes, one per major version (2024, 2025, 2026…), in separate, explicitly named folders. Service Packs, however, are updated inside the existing image: do not create a new image for every SP.
Administrative image and network licenses: what is the link?
The image can embed the license server address (SolidNetWork License) so that each workstation finds it on its own, with no typing. The license server itself is installed separately, once, on a dedicated or stable machine.
Can the PDM client be included in the deployment?
Yes: the SOLIDWORKS PDM client can be deployed with the same logic, and the vault attaches automatically to the workstation using a vault view setup file. It is the most reliable way to guarantee that every workstation runs the same client version as the server.